The Chapman Stance Improved My Pistol Accuracy
When I first started improving my handgun skills, I quickly learned that grip and body position mattered just as much as sight alignment. The Chapman stance became one of the most practical shooting methods I practiced because it helped me stay balanced while managing recoil more effectively.
I noticed better control almost immediately. In addition, my follow-up shots became faster because my upper body stayed more stable during recoil. That stability gave me more confidence during defensive shooting drills and range training.
According to the National Shooting Sports Foundation, proper stance and grip are critical fundamentals for safe and accurate handgun shooting.
What Is the Chapman Stance?
Ray Chapman developed the Chapman stance during the 1950s. He designed the technique to combine stability, recoil control, and precision shooting.
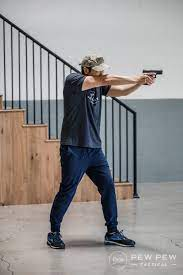
I start by placing my feet about shoulder-width apart. My dominant foot moves slightly behind me while my support side stays forward. This creates a bladed stance rather than a squared stance.
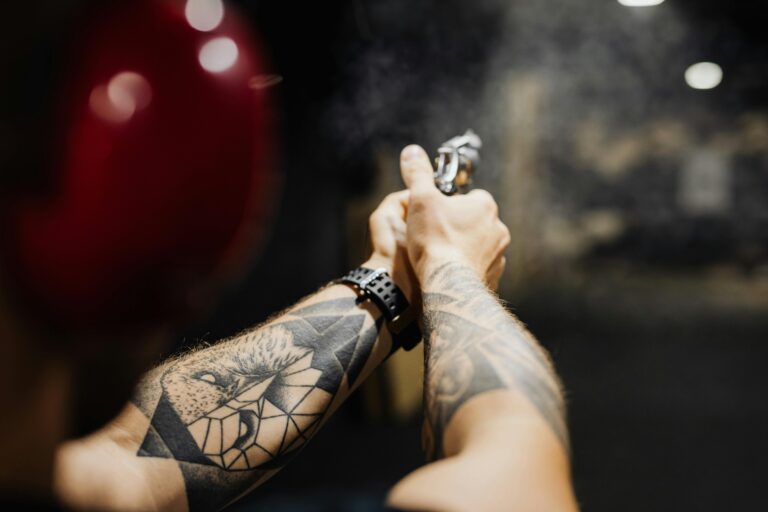
Next, I extend my shooting arm straight toward the target. However, my support arm remains slightly bent. That bend creates tension between the arms, helping steady the pistol during recoil.
My knees remain slightly bent while my weight stays balanced. As a result, I can move quickly if needed while maintaining control of the firearm.
Why I Like the Chapman Stance
One reason I continue using this stance is that it feels natural during slow and controlled shooting. The body position reduces fatigue during long-range sessions.
I also found that recoil feels softer with this method. Because my dominant arm locks straight, the force travels through my shoulder more efficiently. Therefore, muzzle rise becomes easier to control.
Another advantage involves sight alignment. The position naturally brings my eye level directly behind the sights. That consistency improved my accuracy during defensive drills.
Potential Weaknesses of the Chapman Stance
Although the stance offers several benefits, it is not perfect for every situation. I discovered that the bladed body position can limit movement during close-quarters scenarios.
For example, rapid movement to the support side feels slower compared to a squared modern isosceles stance. In addition, some shooters find the extended shooting arm uncomfortable after extended practice.
The position may also expose more of the shooter’s side during a defensive encounter. Because of that, situational awareness and movement training remain extremely important.
Training Tips That Helped Me
I improved faster once I focused on consistency instead of speed. Dry fire practice helped me build muscle memory without recoil distractions.
I also practiced drawing from concealment while maintaining proper foot placement. Over time, the movement became smoother and more natural.
If you want to improve with this technique, start slowly and focus on your grip pressure. In addition, practice transitioning between targets while keeping your upper body stable.
Final Thoughts on the Chapman Stance
The Chapman stance remains one of the most respected handgun shooting positions for a reason. It combines accuracy, recoil management, and stability in a practical shooting platform.
While modern shooting styles continue evolving, I still believe this classic stance deserves attention from anyone serious about handgun training. With enough repetition and safe practice, it can become a reliable tool for both competitive and defensive shooting.
For additional firearm law updates and self-defense education, visit US Law Shield.
Recommended Resources
Tactical Trap: Keeping Your Family Safe & Weapons Ready
Tactical Trap Storage Solutions
FREE Legal Gun Updates for Your State. Use promo code PSTC
US Law Shield Legal Updates
FREE Reciprocity Map by State. Use promo code PSTC
US Law Shield Reciprocity Map
Try US Law Shield Free Trial for 30 days and download the app.